Garage Floor Coating Installation Mistakes: The Seven Most Common Construction Mistakes
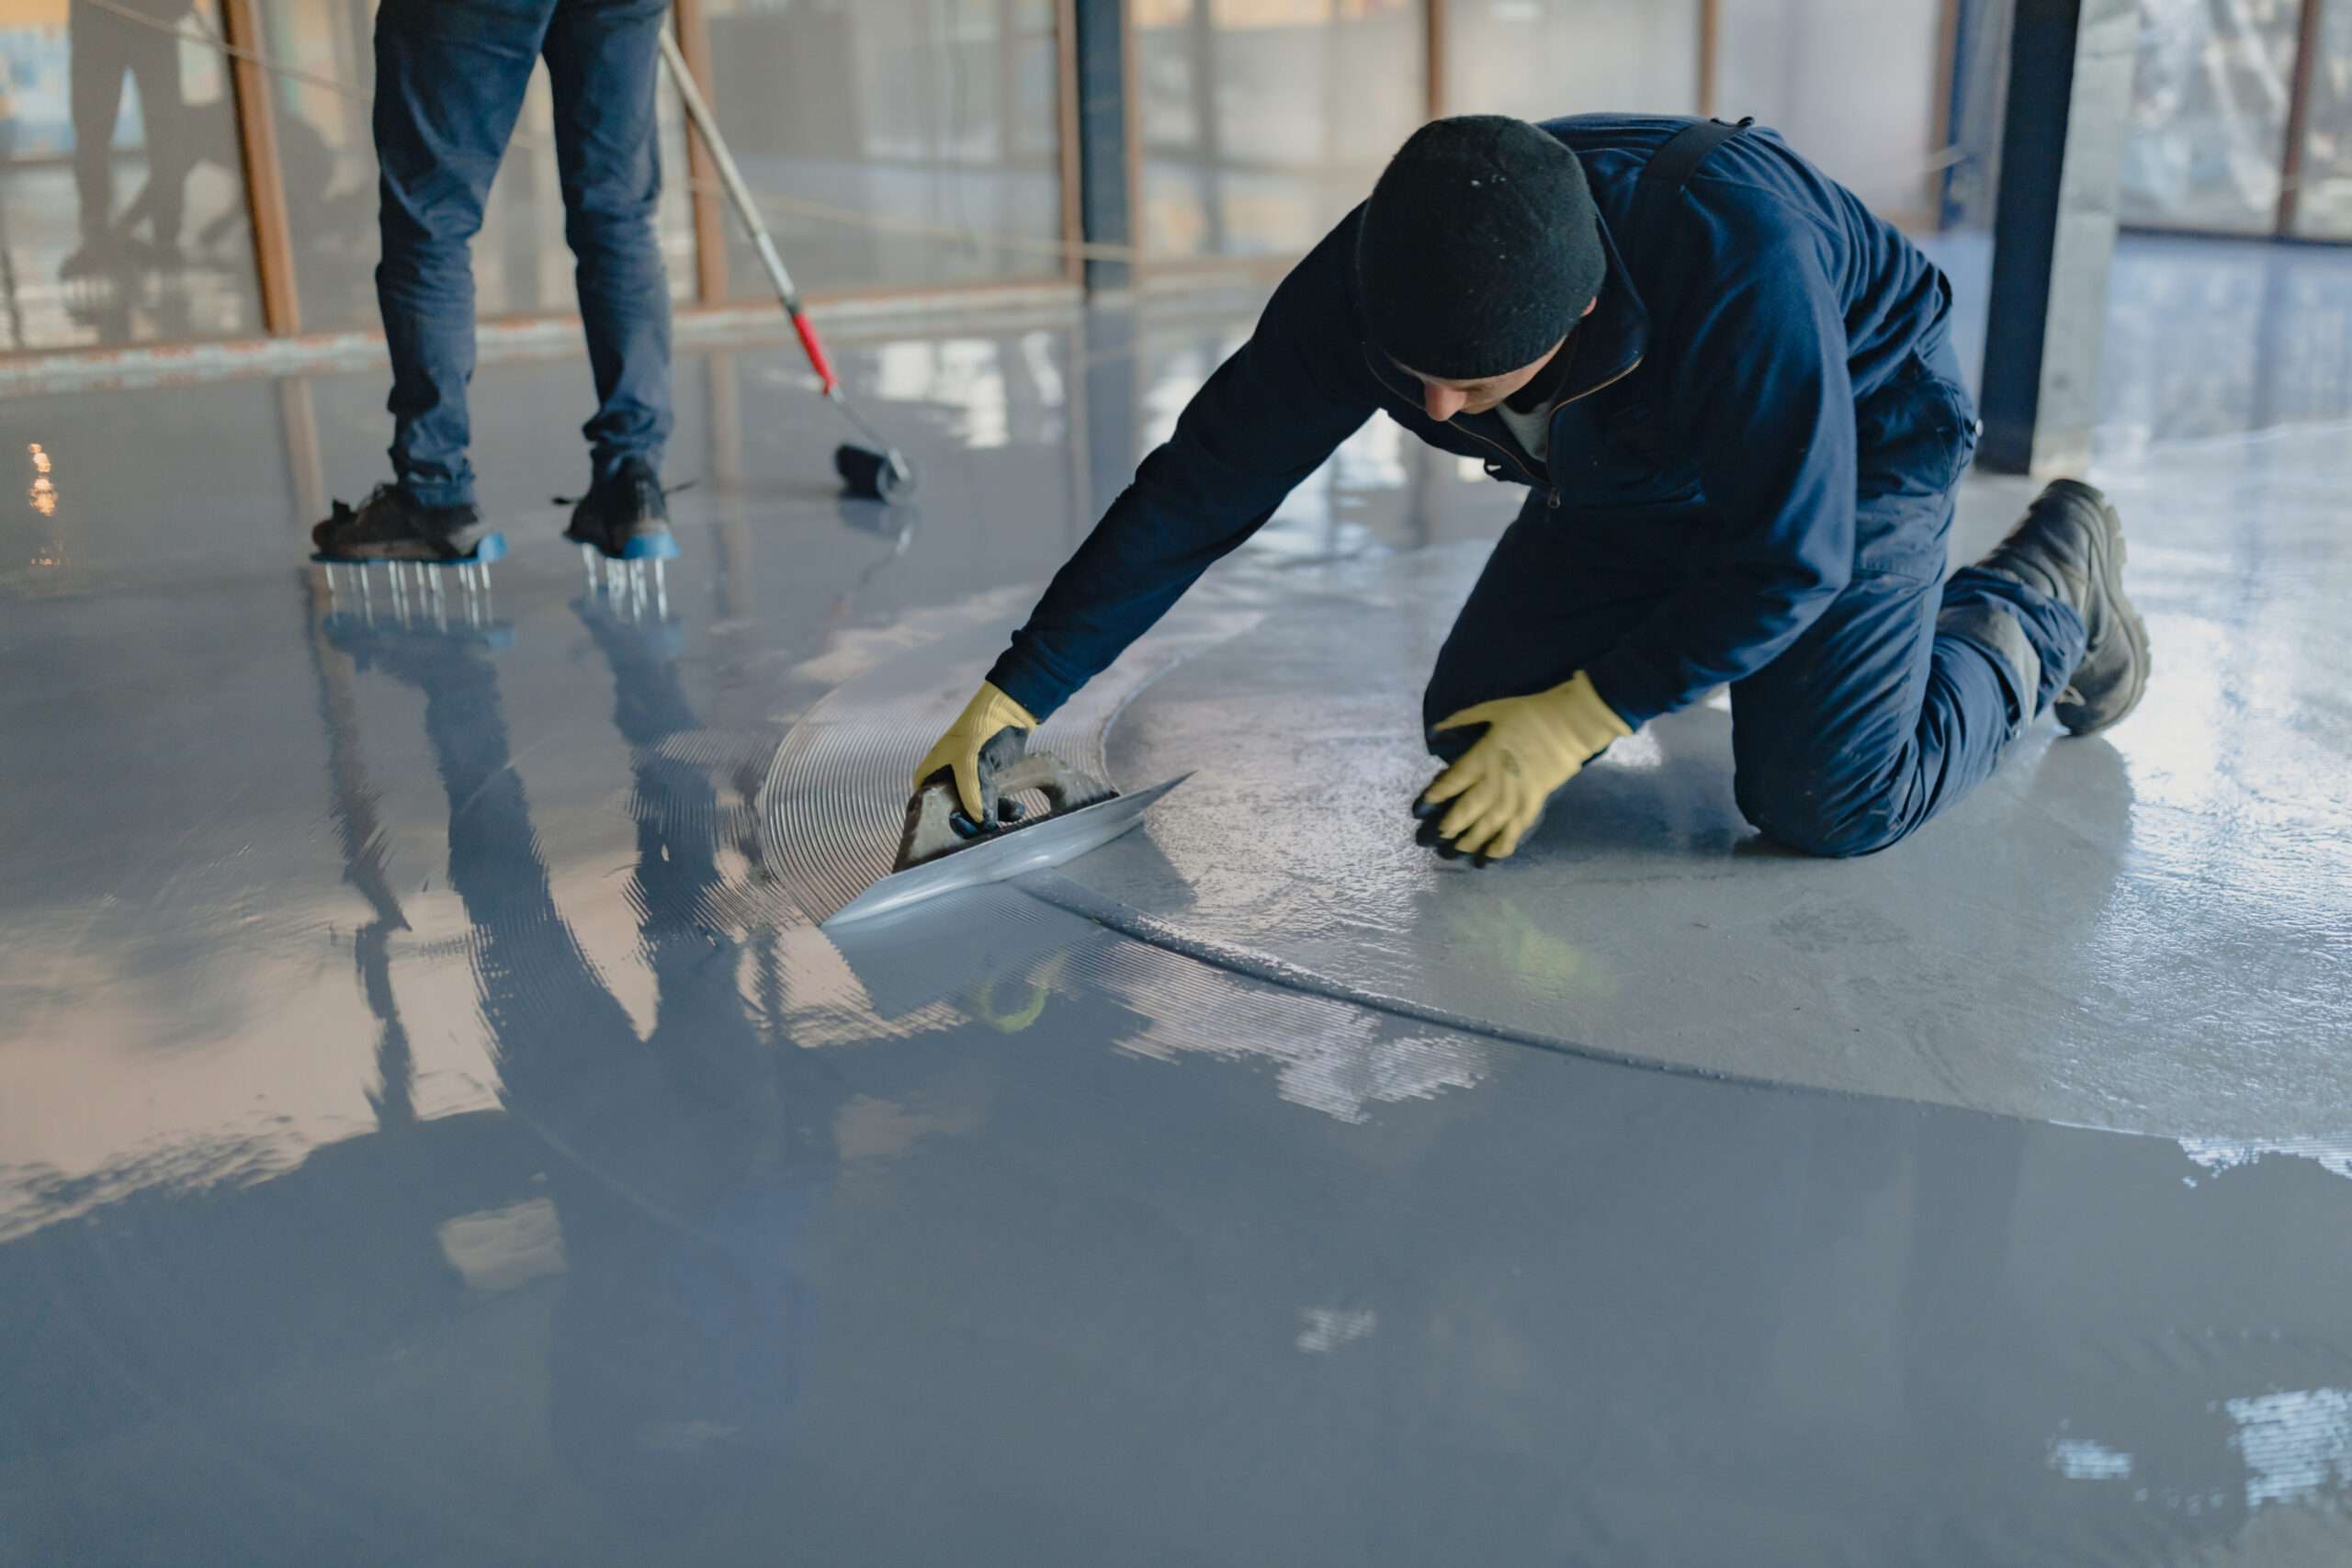
Garage floor coating may seem simple, but the actual process is like an unrehearsed stage performance—every step can lead to a small mistake. Many people believe that choosing the right brand and materials will ensure a flawless finish. However, the truth is that details during construction are crucial. Today, we will systematically explain seven common installation pitfalls to help you avoid seemingly insignificant human errors that can have serious consequences.
Table of Contents
1. Insufficiently polished floor: Hidden “adhesion trap”
Floor preparation is the most easily overlooked step in any garage floor coating project. Many people, eager to save time, simply clean or sand the surface before applying the coating. The result? The paint won’t adhere well, and after just a few months, it can start to peel, bubble, or delaminate.
Truly professional floor preparation should include multiple steps, including degreasing, dust removal, sanding, and pickling. This is especially true for older garages, where residual oil and sealant on the surface can make it difficult for the coating to absorb. Professional teams typically use industrial-grade grinding pads to mechanically polish the floor, creating a slight surface roughness that allows for optimal adhesion between the coating and the concrete.
To sum it up in one sentence: If the surface is not clean, any high-end coating will be useless.
2. Misjudging the moisture content of concrete: moisture is the biggest enemy
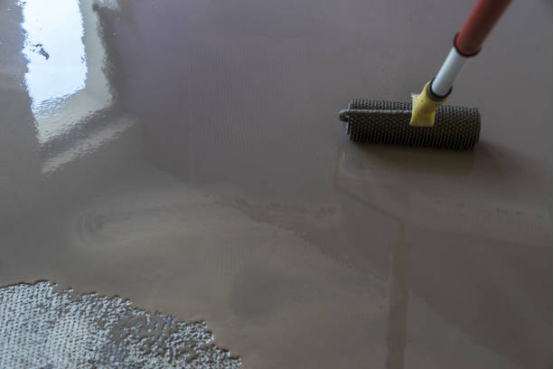
Moisture is the invisible killer of garage floor coatings. Trace amounts of moisture in concrete evaporate and rise when the temperature changes. If construction begins before the ground is completely dry, moisture will be trapped under the coating, causing bubbles or delamination.
A qualified installation process must include a moisture content test. Professional construction workers will use a hygrometer or plastic film method to test the concrete moisture content and ensure that the value is below the safe threshold before applying the primer.
Moisture problems often occur during the construction phase of a new garage or during the rainy season, so choosing the right time to start construction is also critical.
3. Uneven primer thickness: The key layer of stable structure is ignored
Many DIY installers like to skimp on the primer, thinking a thin coat will “look the part.” But the primer is the “bonding backbone” of the garage floor coating system, determining the overall stability and durability of the coating.
If the primer is too thin, the upper coating won’t adhere firmly to the floor; if it’s too thick, it may crack due to uneven drying. Professional standards require that the primer thickness be controlled within a specific range and a combination of roller and blade application be used to ensure uniform penetration.
Although this step may not be glamorous, it determines whether each subsequent layer can truly perform well.
4. Wrong choice of coating material: Not all coatings are “universal.”
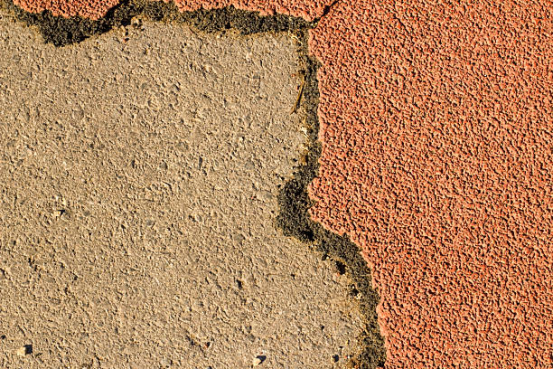
Common types of garage floor coatings on the market include epoxy, polyurethane, and acrylic, each with specific uses and advantages and disadvantages.
However, many users prioritize surface characteristics like wear resistance and glossiness while overlooking application scenarios and climate factors.
For example, epoxy coating has high hardness but weak UV resistance and is not suitable for areas exposed to direct sunlight; although polyurethane waterproof coating is flexible and waterproof, it requires strict temperature and humidity control to achieve the ideal effect.
environment. Therefore, material selection is not “the more expensive, the better” but should be based on a comprehensive judgment of ground conditions, climate environment, and frequency of use.
5. Mixing the wrong ratio: The delicate balance of chemical reactions
an incomplete Two-component coatings (such as epoxy or polyurethane) rely on precise mixing ratios to produce a chemical reaction and form a strong coating. However, in reality, many applicators mix based on experience, using “eyeballing” instead of weighing, resulting in an incomplete reaction.
The consequences of such mistakes often become apparent after a few days: the surface is not dry, the texture is sticky, and there are white spots. Worse still, even if the incorrectly mixed coating has a shiny surface, it lacks structural strength and is easily damaged by wheels.
The solution is simple: Use a digital scale strictly according to the manufacturer’s instructions, ensuring the scale is accurate to the gram.
6. Failure to control ambient temperature and humidity: Construction environment determines success or failure
work.”work.” Too low a temperature will slow down the curing process, while too high a humidity will easily cause the surface to fog and become dusty. Many people choose to apply the paint in winter or after rain, which is almost equivalent to “self-destructing the work.”
Optimal conditions for garage floor coating application are typically temperatures between 20°C and 30°C (79°F to 81°F) and relative humidity below 60%. A professional construction team will measure on-site data before work and adjust environmental parameters using a dehumidifier or hot air blower if necessary.
-line -line Environmental control may sound cumbersome, but it is the bottom-line operation to ensure stable construction quality.
7. Ignoring the curing cycle: the “hidden loss” of rushing for quick results
One last common mistake is using the garage before the coating has fully cured. What may seem like just driving in a day early can actually cause permanent damage.
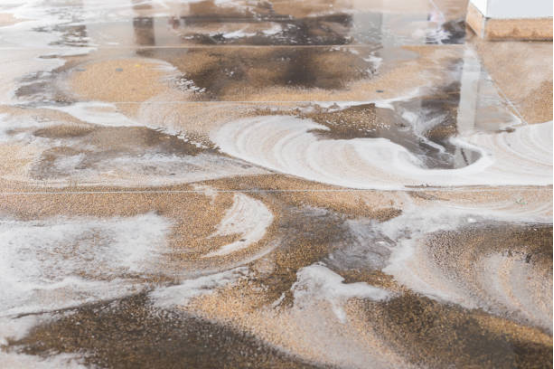
While the coated surface can be walked on within 24 hours, full curing typically takes 3–7 days, depending on the material type and climatic conditions. If weight is applied or friction is applied during this period, the coating structure will be damaged, forming microcracks that are invisible to the naked eye.
. Therefore, no matter how tight the time is, allowing the garage floor coating to fully cure is the real way to save time.
Extra reminder: Ignoring maintenance is equivalent to “reloading and preparing for battle.”
Installation isn’t the end of the story. Regular cleaning, avoiding contact with acidic chemicals, and periodic crack inspection are all key to maintaining the life of your floor. Many users neglect post-treatment maintenance, causing even high-end coating systems to lose their gloss and protective properties within two years.
Using a neutral detergent and a slightly damp mop for cleaning can not only maintain the shine but also prevent the wear-resistant layer from being eroded.
Conclusion
Garage floor coating never depends solely on the material or brand; it is a systematic project supported by details. Every small step in the construction process—grinding, mixing, drying, and curing—is like a key link in a chain; the absence of any link will affect the overall result.
If you’re considering upgrading your garage floor, check to see if you’re avoiding these seven pitfalls. Only by understanding the “wrongs” can you truly do the “rights.”


