How to Repair Old Garage Floor Coating? A Professional Guide to Renovation and Recoating
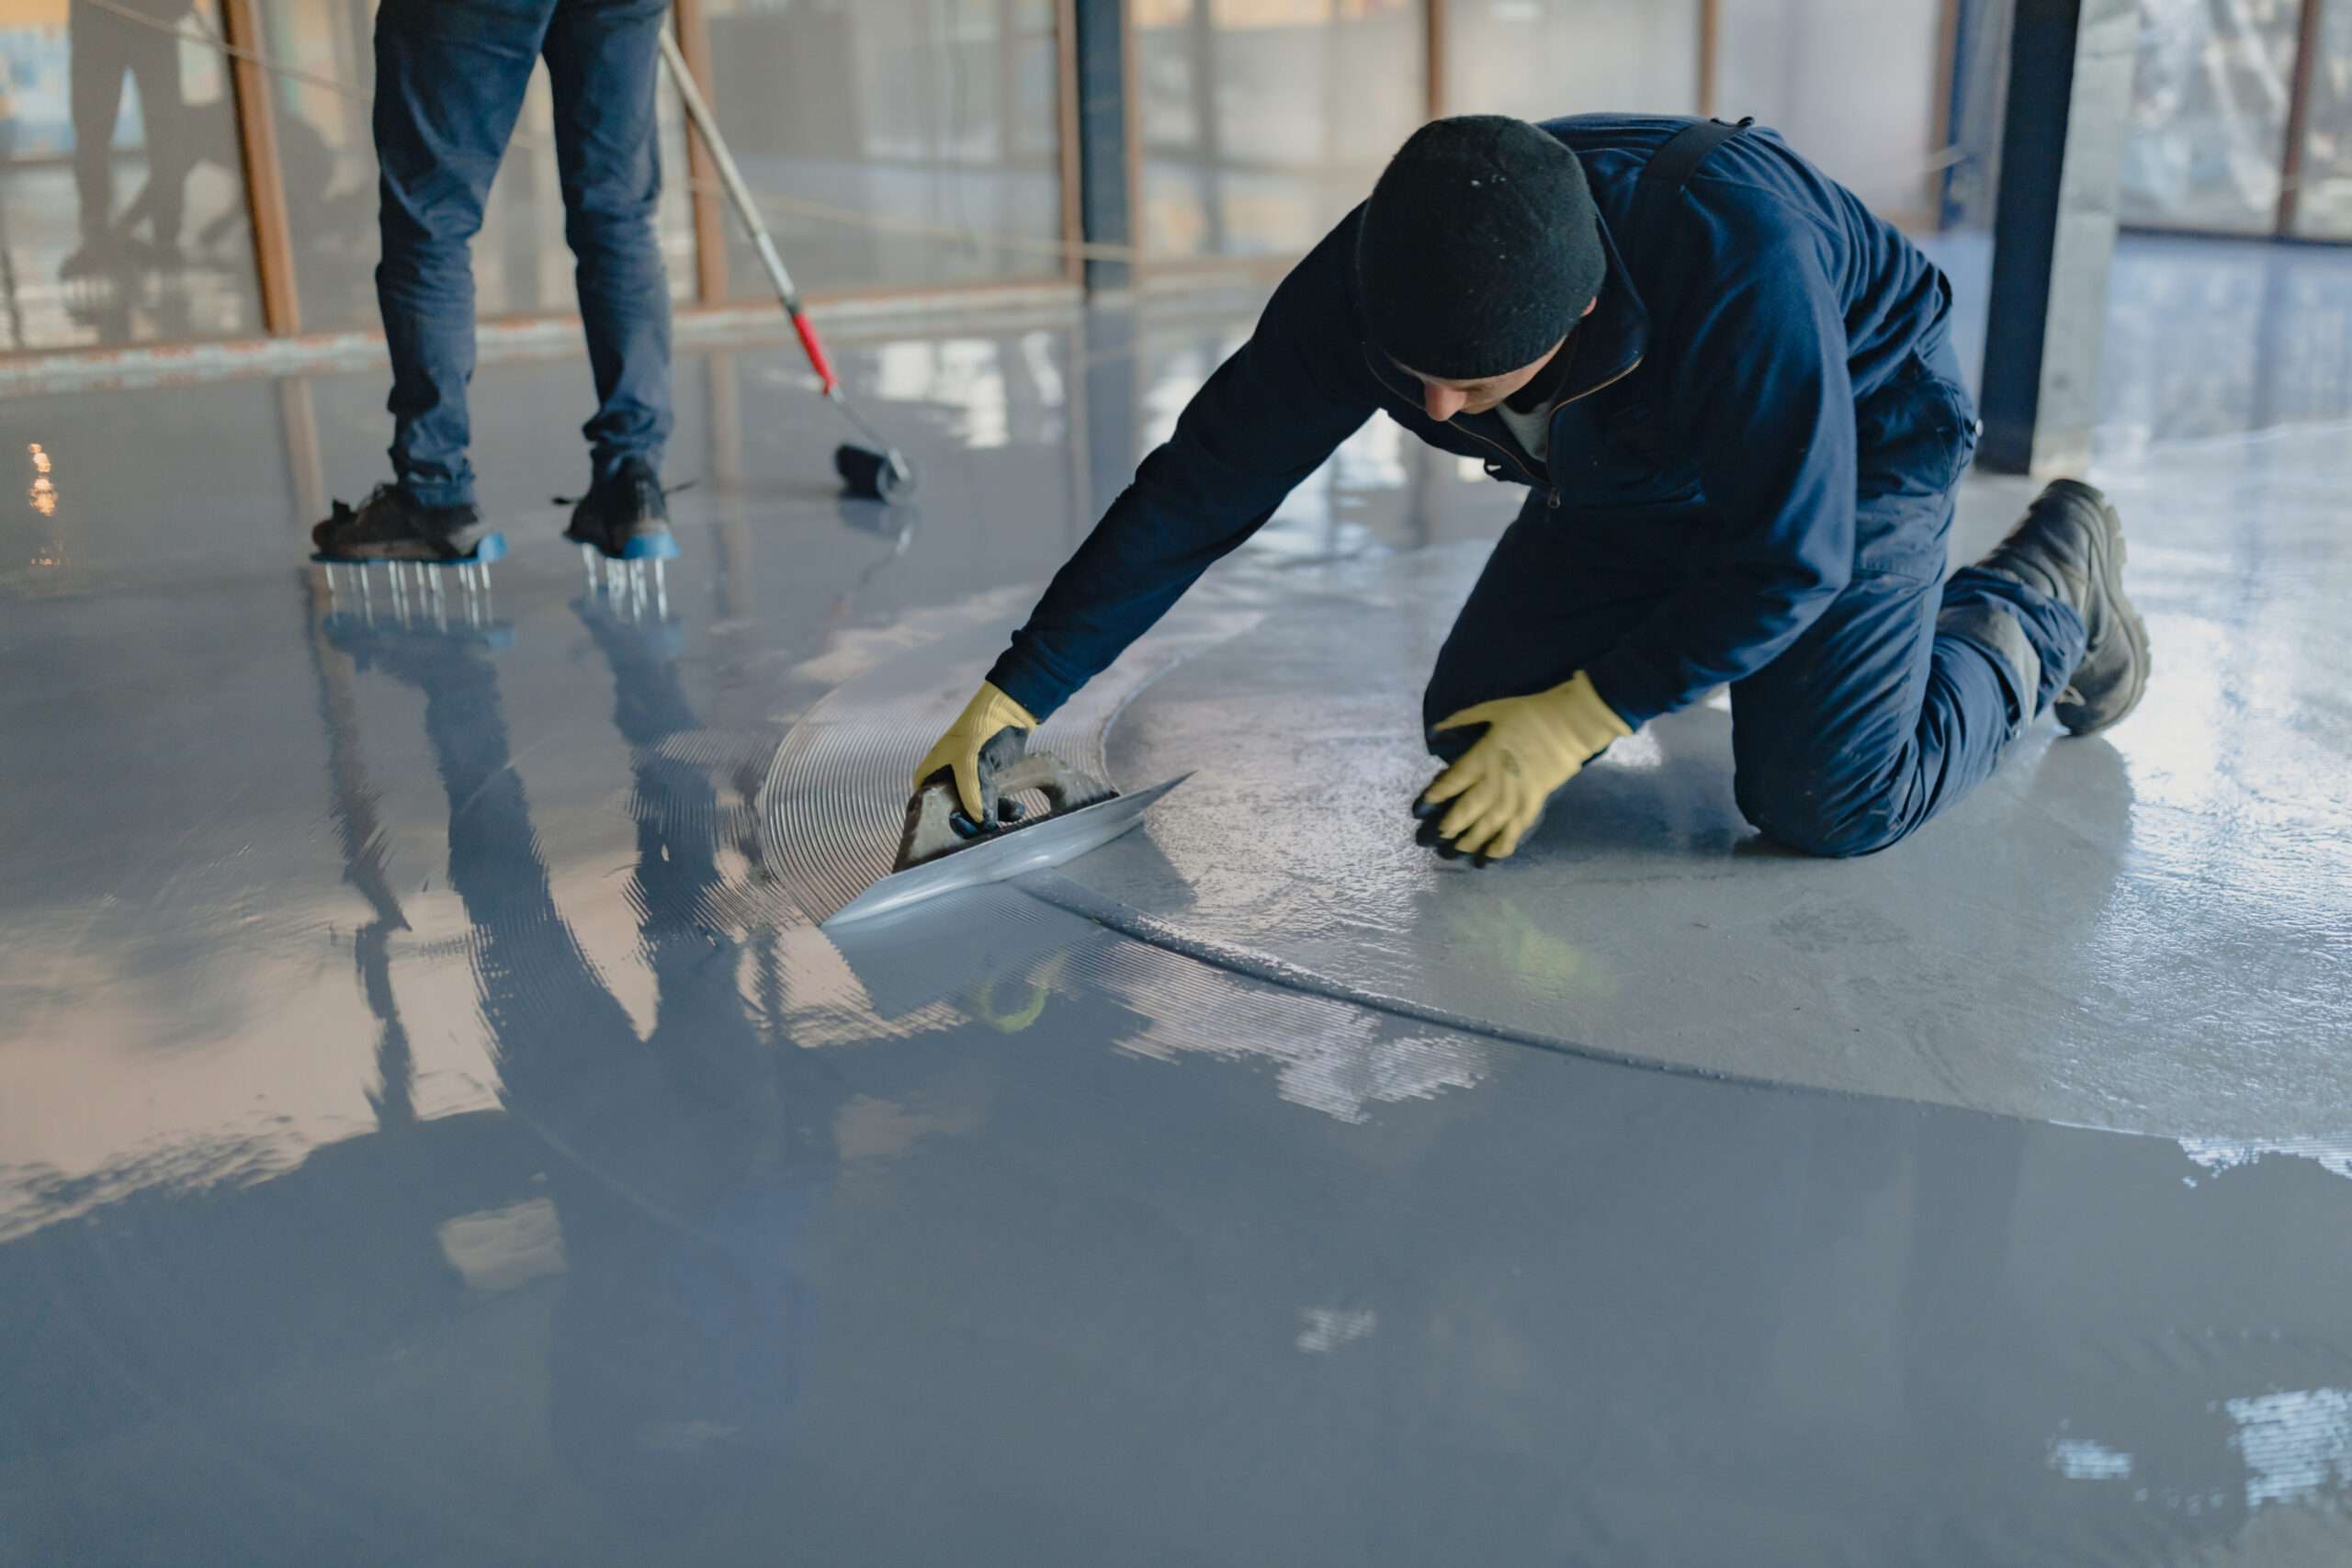
peeling, andRenovating a tarnished floor isn’t as easy as simply repainting it. Especially when it comes to garage floor coating, problems often lie beneath the surface—cracks, bubbling, peeling, moisture penetration—each detail can determine whether the new coating truly lasts. This isn’t so much a repair as it is a revitalization of the floor.
In this article, we will analyze in depth how to judge the health of the old coating, when to recoat, and every key step that needs to be mastered when renovating garage floor coating from the perspective of professional construction.
Determine if the floor needs repainting
Signs of floor aging aren’t always obvious. Many homeowners mistakenly think they’re just “a little dirty” when they see slight discoloration or dust buildup. But if you observe any of the following, you should seriously consider re-coating your garage floor:
- :Peeling or bubbling coating : This usually means that the original coating has lost its adhesion to the concrete substrate, perhaps because the surface was not cleaned properly during the original application or it was caused by moisture.
- :Crack propagation : Concrete itself shrinks slightly over time, and when the floor fails to adapt to these changes, cracks will tear through the protective film on the surface.
- :Color becomes darker or yellower : UV radiation, tire heat marks, chemical solvents, etc. will cause the original coating to oxidize and become brittle.
- :Local water absorption or color bleeding : Once “wet spots” begin to appear on the ground, it means that the waterproof layer has been damaged.
Industry experience indicates that the lifespan of garage floor coating is generally between 5 and 10 years, depending on frequency of use, traffic volume, and ambient humidity. If your floor has exceeded this period, even if it appears to be intact, it is recommended to conduct a comprehensive inspection.
Preparation before renovation: key steps to make the ground “reborn”
.Ground preparation is the most critical step in ensuring a new garage floor coating adheres securely . Ignoring this step is like building a house on a loose foundation—no matter how shiny the surface is, it won’t last long.
1. Remove old coatings and contaminants.
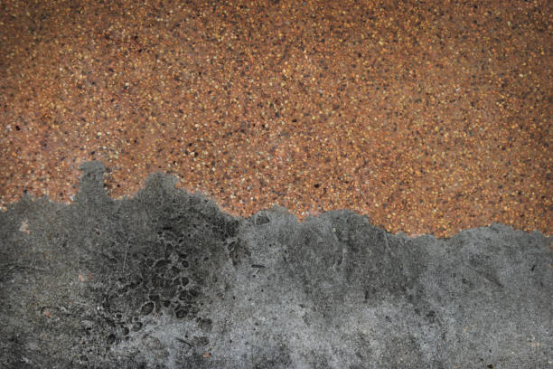
Use a grinder or chemical paint stripper to thoroughly remove the old coating. Residual oil, tire marks, and even car wax can affect the adhesion of the new coating. Industry advice: Use mechanical abrasion to ensure a roughened surface, allowing the new coating to “grasp” the surface’s micropores.
2. Repair cracks and holes.
Use epoxy mortar or polyurethane patching material to fill cracks. This step not only affects the aesthetics but also determines the waterproofing effectiveness. If cracks are not sealed, moisture can penetrate upward from the inside, compromising the structural integrity of the coating.
3. Surface Dryness Test:
This is the most overlooked step. Even if the surface appears dry, moisture within the concrete can still cause blistering in the coating. Lay down a plastic sheet for 24 hours to test for condensation. If water droplets are present, continue drying or use dehumidification equipment.
4. Primer and Sealer
Before construction, use a dedicated primer to improve adhesion and seal pores, preventing air bubbles. This step is especially important for older floors.
Renovation construction process: scientific repainting to make the old floor look brand new
Once the ground is prepared, the actual renovation phase can begin. The focus is no longer on “painting,” but on how to ensure that the garage floor coating is uniform, stable, and durable.
1. Mixing and Stirring:
If using epoxy or polyurethane garage floor coating, the base and curing agent must be mixed strictly according to the ratio and stirred thoroughly for 2-3 minutes. Uneven stirring may cause partial softening or incomplete curing.
2. Zoned Construction
: In practice, it’s recommended to divide the garage into multiple construction areas. Complete each area before moving forward to avoid joint marks left by the roller.
Maintaining ventilation while avoiding dust intrusion is crucial, especially during the drying phase.
3. Layer Control and Thickness Management
When renovating an old floor, it’s generally recommended to apply at least two coats: the first is a sealer, and the second is a thicker protective layer. For heavily used garages, a layer of clear topcoat can be added to enhance wear resistance and gloss.
4. Curing and Maintenance Time:
Most high-performance coatings are ready for walking after 24 hours, but it typically takes about seven days to reach sufficient strength for parking a vehicle. During this time, avoid washing or exposing the coating to strong sunlight.
Frequently Asked Questions and Professional Advice
Even the most careful construction workers will inevitably encounter challenges. Here are some common problems and solutions for the industry:
- Problem: New coating is bubbling or peeling
Solution: Usually caused by excessive moisture in the floor or insufficient drying of the primer. Re-sand and allow for extended curing time. - Solution:Problem: Whitish or uneven gloss
. Solution: This may be caused by humidity or airborne dust. Maintaining a dry environment during application and using a low-humidity paint formula can effectively improve the condition. - Problem: Too thick a coating causes cracking.
Solution: Too thick a coating can delay curing and create internal stress. Apply the coating in layers to avoid excessive application.
Furthermore, regular maintenance is crucial to extending the lifespan of your garage floor coating. Using a neutral detergent, avoiding contact with acidic or alkaline corrosive liquids, and performing a light polish or reapplying a protective layer annually are all effective ways to keep the floor looking new.
Upgrade options after renovation: evolution from function to aesthetics
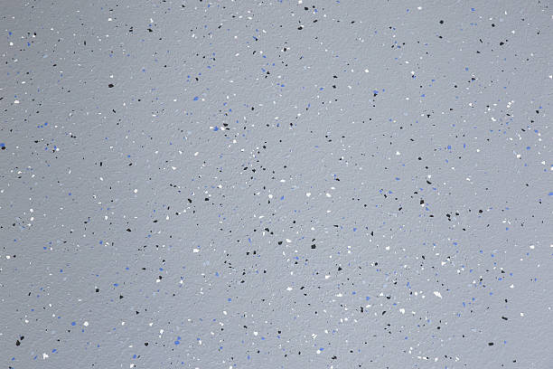
spaces butToday’s garages are no longer just parking spaces, but also multifunctional extensions of the home. Therefore, a renovated coating shouldn’t just be a “fix,” but an opportunity to upgrade.
- Metallic texture and glossy effect: Choose a garage floor coating with aluminum powder or mica particles, which not only adds a sense of layering but also reflects light and enhances the brightness of the space.
- Anti-slip matte surface: For high-humidity areas or homes with elderly people, matte anti-slip coating can significantly improve safety.
- Heat-resistant and chemical-resistant formula: If the garage also serves as a workspace or laboratory area, you can choose a polyurethane-based coating that is resistant to oil, heat, and brake fluid corrosion.
From functionality to visual performance, a professional renovation can make the garage a true “extension of the home.”
Ground renovation is not just a surface repair
Renovating a garage floor coating is more like a reconstruction of order, craftsmanship, and aesthetics.
With each crack repaired and each layer of coating shining again, the texture of the home space is redefined.
If you are considering breathing new life into your old garage floor coating, consider switching from “repair” to “upgrade”—it’s not just about maintaining the floor; it’s also about refreshing your lifestyle.


