DIY Garage Floor Coating: A Complete Guide from Preparation to Finishing
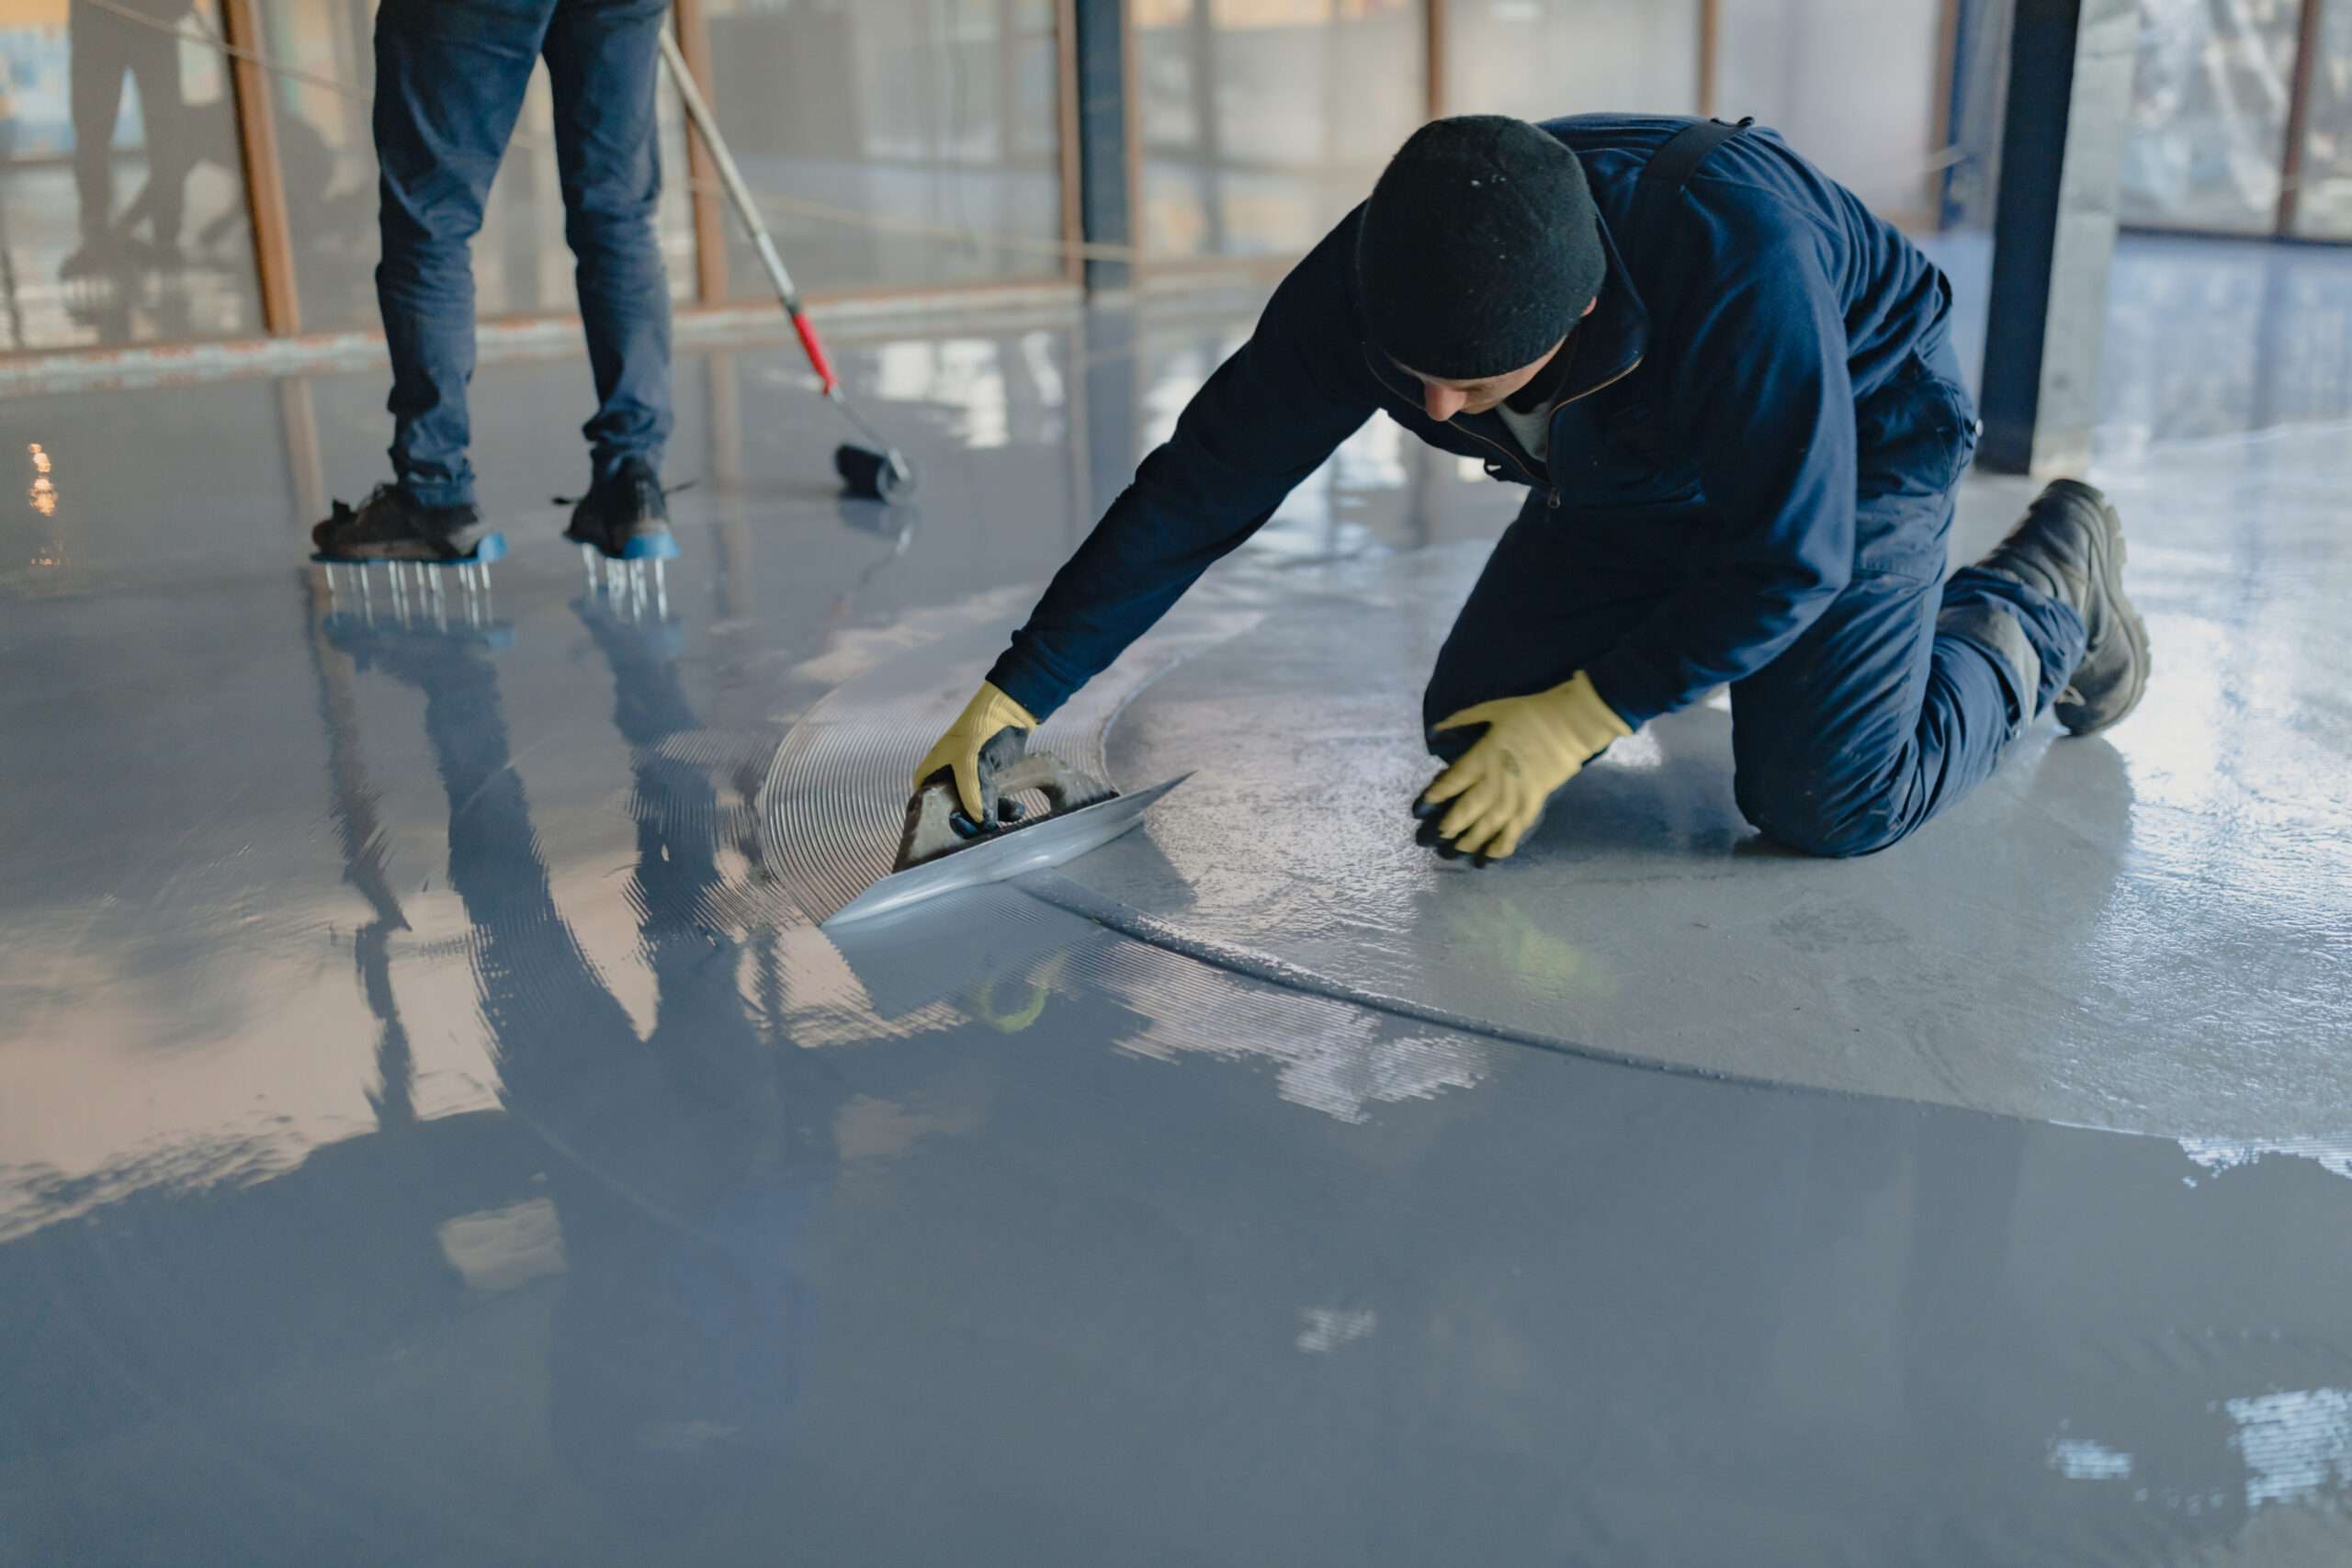
In a garage during a cold North American winter, gray concrete not only adds a dull feel but also easily accumulates dust and becomes slippery. A DIY garage floor coating not only improves the visual experience but also enhances the floor’s wear resistance and ease of cleaning. This article will provide DIY enthusiasts with a complete process from preparation to finishing, guiding you through the professional construction details and making each step more manageable and approachable.
Cleaning and Substrate Preparation: The First Step in Construction
Every high-quality garage floor coating project begins with thorough cleaning and surface preparation. Oil stains, dust, and peeling on concrete can seriously affect coating adhesion.
Recommended preparation steps include:
- Surface cleaning: Use industrial-grade degreaser and a high-pressure water gun to remove oil, lubricants, and dust.
- Grinding and roughening: Use a concrete grinder or shot blasting machine to form a microporous surface structure for better adhesion.
- Crack and hole repair: Fill cracks and holes with epoxy mortar or concrete repair paste to ensure an even coating base.
- Drying and dehumidification: Ensure concrete humidity is below 5% to prevent blistering after curing.
Real-world DIY projects show that about 80% of coating failures result from poor substrate preparation. Taking time to do this phase right greatly improves the durability and appearance of your garage floor coating.
Primer Coating: Laying a Solid Foundation
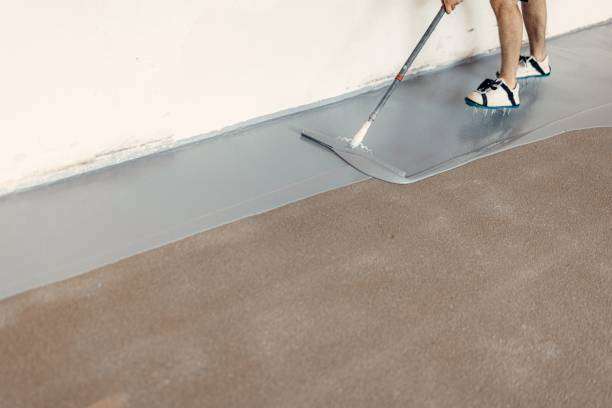
Primer application strengthens adhesion and wear resistance. For DIY users, note these essential steps:
- Choose the right primer: Epoxy primer is ideal, with low-temperature curing formulas available for winter projects.
- Even application: Apply evenly using a roller; use a brush for edges and corners.
- Proper drying: Follow product instructions—typically 12–24 hours, or up to 36 hours in colder environments.
This step directly determines the durability and uniformity of your garage floor coating. After the primer cures, the surface should appear matte and slightly sandy to the touch.
Surface coating: creating dual effects of wear resistance and beauty
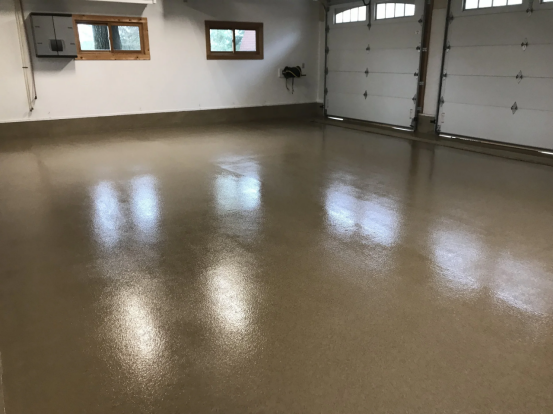
The surface layer is the core of the coating, determining the aesthetics and functionality of the floor. For DIY applications, the following process can help you achieve professional results:
- Mixing coatings: Mix the resin and curing agent in strict proportion to ensure a uniform chemical reaction.
- Roller coating or self-leveling: small areas can be roller coated, and self-leveling is recommended for large areas. Use a scraper to level the surface to reduce bubbles and unevenness.
- Sprinkle decorative particles: If you choose colored sand or pearlescent effect, you can evenly spread them on the wet coating to enhance the visual level.
- Degassing and surface smoothing: Use a needle roller to eliminate bubbles and ensure a smooth and flat coating.
- Curing: The surface layer usually cures in 24-48 hours. At low temperatures, additional heating or extended waiting time may be required.
DIY users should pay attention to the construction sequence and time control to avoid premature solidification or sagging of the paint and ensure that every square foot reaches uniform gloss and wear resistance standards.
Finishing and maintenance: the secret to a longer service life
Once the coating is completed and cured, finishing touches directly impact long-term performance and ease of cleaning. Key steps include:
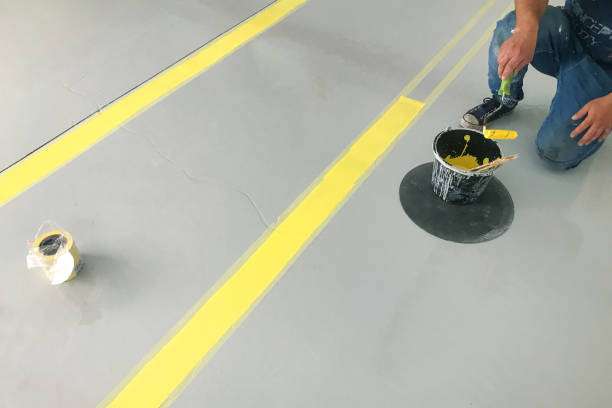
- Edge modification: Use a brush to clean the edges or corners to maintain the overall beauty.
- resistance. Protective layer: A transparent polyurethane protective layer can be selected to increase scratch resistance and chemical resistance;
- : Initial protection: Avoid heavy objects or walking on the surface before curing is complete;
- : Daily cleaning: Sweep or wet mop regularly to prevent grit from scratching the surface; avoid using strong acid or alkaline cleaners.
Long-term experience shows that proper maintenance can extend the service life of DIY garage floor coating to more than 10 years while maintaining its visual beauty and anti-slip effect.
Sharing brand and DIY experience: making construction more professional and approachable
alternative but Through the above process, you can see that DIY is not just a low-cost alternative but also a practical place to build a “professional and approachable” brand image. High-quality paint brands usually provide:
- operation. Detailed construction manuals and videos make it easy for users to follow the operation;
- Provide technical support to customers to solve common construction problems;
- Low-temperature or specially formulated products to meet the needs of different seasons and environments in North America.
efficiency but Combining feedback from the DIY community and rationally choosing brands and products can not only improve construction efficiency but also provide a more intuitive operating experience and sense of accomplishment than professional construction.
Summarize
From thorough cleaning, substrate preparation, and primer application to surface application and final maintenance, every step is crucial for DIY garage floor coating. Mastering the correct procedures and construction details not only enhances the durability and aesthetics of your floor but also adds a professional and fulfilling sense of accomplishment to your DIY experience.


